FIELD GUIDE · v0.142.0
Scholomance
Beneath Caer Darrow the Cult of the Damned teaches the art of death. Its students, its dead and its masters fill the Great Ossuary, and Darkmaster Gandling sets the last examination himself.
Equipment dropped in this zone
Scholomance drops 83 T0.5 items across nine classes: 72 armor pieces and 11 weapons. Collect them for your pre-run Armory loadout.
Scholomance: each of the first four bosses' two armor candidates rises from 12.5% to 25%, for a 50% chance of one item per kill, never two. While either piece is missing, a successful drop gives a missing piece; after both are owned, either can drop again. The Armory shows the actual chance. Darkmaster Gandling is unchanged: a 25% chance per kill for your class weapon; classes using two weapons receive both together.
Four armor pieces at 1 star unlock the 4-piece bonus; eight at 3 stars unlock the 8-piece bonus. All eight at 5 stars empower it. Weapons do not count toward the armor set.
This zone's equipment drop table →Compare T0.5 set bonuses →Heroic I–V
Clear the zone on Normal with the selected class before its first Heroic attempt. A Heroic clear opens the next level across classes, but does not waive another class’s Normal clear. The winning class unlocks that zone’s gear stars.
Heroic rules →
- Encounter themes
- Undead, students and four corner guardians
- Final boss
- Darkmaster Gandling
- Final boss arrival
- 20:00
- Access
- After Blackrock Mountain and before the Gates of Ahn'Qiraj. Previously unlocked later zones stay unlocked.
THE FIVE ENCOUNTERS
Keep the next arrival in view.
Times start when the run begins. If the previous boss is still alive, the next waits. Reaching 20 minutes does not mean the zone is cleared.
STATS / ATTACKS / RESPONSE
Read the threat before you chase damage.
Armor is less effective against these bosses' mechanics: only half of your damage reduction above 40% applies. A displayed 60% therefore counts as 50% against these hits. Armor still helps, but does not replace avoiding warnings.
Kirtonos the Herald
- Base health
- 8,480
- Base hit
- 27
- Base move speed
- 6
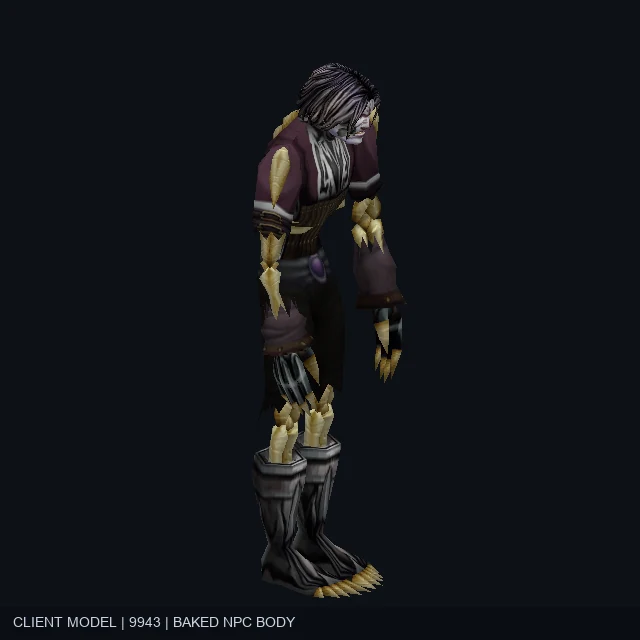
Attacks and hazards
Two forms
Each form uses its own attacks.
How to respond:Read the ground warnings again after every transformation, then choose where to attack. Do not reuse the previous form's positioning automatically.
Health phases
65% · Transformation
Changes form at 65% health.
How to respond:Leave room to move beforehand, then reposition for the new attack warnings.
30% · Alternating forms
Below 30% health, alternates forms on a fixed rhythm. Relentless does not accelerate this rhythm.
How to respond:Keep an exit open and respond to the current form. Do not stand still just to finish the fight.
Ras Frostwhisper
- Base health
- 10,650
- Base hit
- 35
- Base move speed
- 6
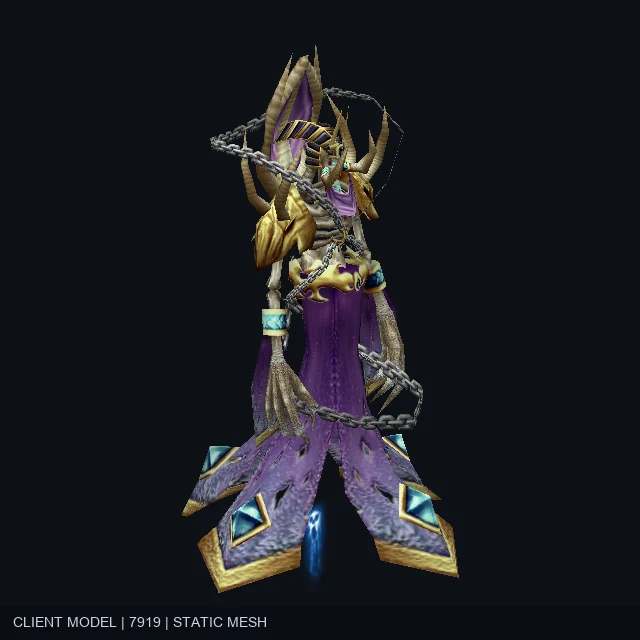
Attacks and hazards
Checkerboard
The checkerboard attacks half the floor, leaving room to dodge in the other half.
How to respond:Stay where changing sides is easy. Confirm which half is threatened, then move to safety.
Health phases
60% · Rune shield break
At 60% health, the boss gains a shield that reduces incoming damage by 75%. Two rune towers rise with the shield timer. Touch either to break the shield and make the boss vulnerable.
How to respond:Touch either rune tower to break the shield, then deal damage during the vulnerability window.
Doctor Theolen Krastinov
- Base health
- 20,430
- Base hit
- 44
- Base move speed
- 6
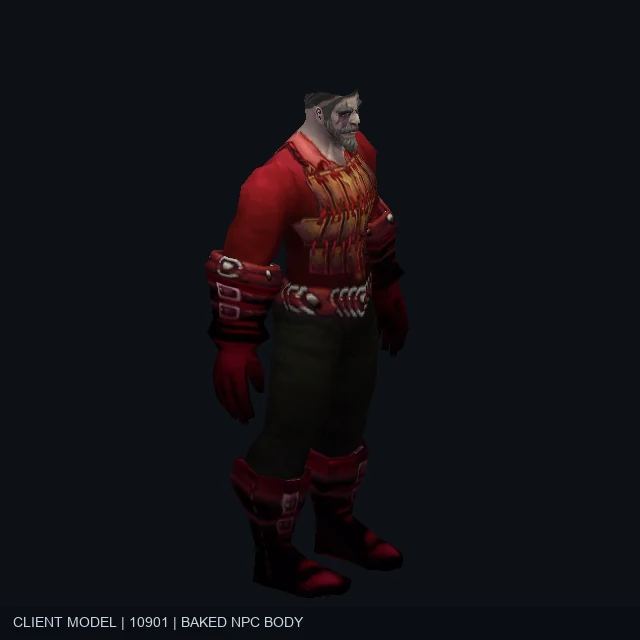
Attacks and hazards
Charge
Dashes forward.
How to respond:Step sideways out of the path instead of retreating along it.
Left and right half-circle cleaves
Sweeps one half circle, then the other.
How to respond:Read both warnings separately. The safe side from the first sweep can become dangerous during the second.
Butcher's Bladestorm
Spins while moving after a distant player.
How to respond:Move through open ground when chased. Other teammates should stay out of the boss's approaching path.
Hook the farthest player
Hooks the player farthest away.
How to respond:Leave room to move when you are farthest away. After being pulled in, check the ground before resuming damage.
Lord Alexei Barov
- Base health
- 30,430
- Base hit
- 52
- Base move speed
- 6
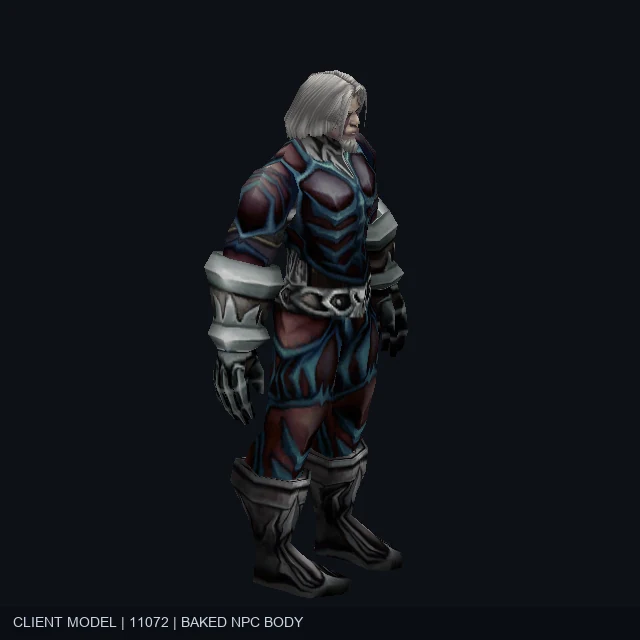
Attacks and hazards
Outward-moving rings
Rings spread outward in sequence. The next ring is warned before the previous one lands.
How to respond:Follow the warnings one ring at a time, using ground where a ring has already landed. Do not cross several danger bands at once.
Burning ground
Leaves burning areas on the floor.
How to respond:Leave the burning ground while keeping a route open for later rings and shadow walls.
X, then a cross
Marks an X-shaped attack, then a cross-shaped attack.
How to respond:Find safety again each time. After dodging the X, do not stop on the lines of the following cross.
Moving shadow wall
A shadow wall crosses the room with a gap you can pass through.
How to respond:Line up with the gap early and adjust as the wall moves. Do not wait until it reaches you to cross.
Darkmaster Gandling
- Base health
- 60,870
- Base hit
- 64
- Base move speed
- 6
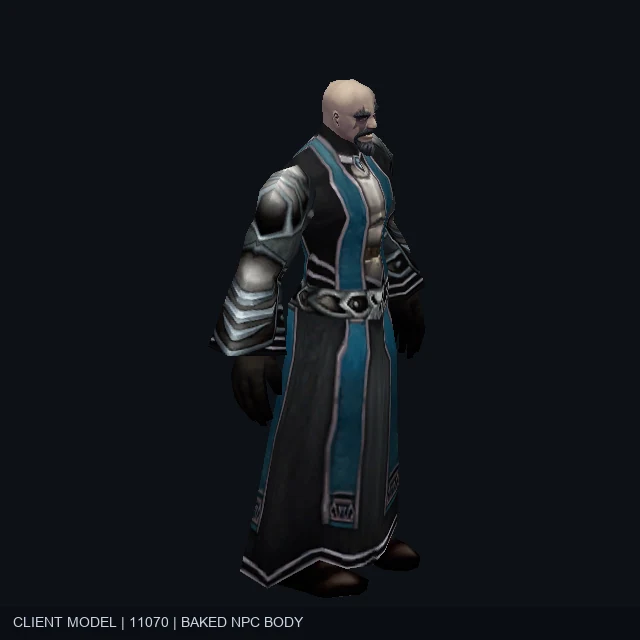
Attacks and hazards
Headmaster's Office
After the call, the whole floor burns except for one small square in the middle.
How to respond:Move into the central safe square immediately. Reach safety before attacking.
Class Dismissed
Four attack bands fill the room, leaving three safe gaps between them.
How to respond:Read the bands and enter a gap. Avoid standing on a boundary.
Pop Quiz
Marks the farthest player.
How to respond:When farthest away, watch for the mark and follow-up ground warnings. Keep terrain and guardians from blocking your exit.
Health phases
35% · The Last Examination
At 35% health, the room's two halves burn in sequence.
How to respond:Approach the dividing line early, then cross from the threatened half to the safe half as warned.
These are base stats; difficulty and scaling change actual health and damage. Base move speed is not attack frequency. Relentless on Heroic II and above speeds up most moves; react to each warning.
Prepare for the first and final encounters.
Before the first arrival
Kirtonos arrives at 04:00. Clear nearby enemies and leave movement space before his 65% transformation. After he changes form, read the new warnings before resuming damage.
Before the final arrival
Gandling arrives at 20:00. Learn the center and the dividing line between the room's halves. Run to the middle for Headmaster's Office and switch sides with the burns during The Last Examination.
Enemies and four corner guardians
Risen Construct, Necrofiend, Spectral Tutor and Scholomance Dark Summoner each guard a corner and have two moves. Watch for extra warnings near the corners so dodging a boss does not put you inside a guardian's attack.
| Enemy | Base health | Base hit |
|---|---|---|
| Reanimated Corpse | 30 | 5 |
| Plagued Hatchling | 24 | 5 |
| Risen Aberration | 36 | 6 |
| Scholomance Student | 38 | 8 |
| Risen Bonewarder | 900 | 28 |
| Diseased Ghoul | 1,100 | 30 |
| Risen Construct | 1,300 | 35 |
| Necrofiend | 1,300 | 35 |
| Spectral Tutor | 1,300 | 35 |
| Scholomance Dark Summoner | 1,300 | 35 |
Scholomance achievements
- Stormstrike Graduation
- As an Enhancement Shaman, deal the killing blow to Gandling with Stormstrike.
- Straight A's
- Defeat Gandling without anyone in the party taking damage from Headmaster's Office or The Last Examination.
- You Are Not Prepared!
- Collect all eight T0.5 armor pieces and all of Gandling's weapon rewards for all nine classes.
- Yes, I am prepared!
- Clear Heroic V solo with each of the nine classes, wearing its full T0.5 armor set at 3 stars or above and its matching specialization talents, to unlock the Lifestealing weapon glow.
Sources and scope
Boss stats and models come from the current game client. Mechanics follow the official update notes; responses are our suggested tactics.
Official update notes ↗